How to Setup
System / Ringlock

Step 1
Fit adjustable bases with collars and lay out roughly in position with their corresponding ledgers. Pick the highest ground level for a setting out point to simplify later adjustment. It helps if the screw Jack is near (not at) the bottom of the thread by allowing maximum adjustment on the lower ground levels.

Step 2
Connect the ledgers to the rossette on the collar of the adjustable base. Do not drive home the wedged at this stage.

Step 3
Using a spirit level, adjust the basis so that the ledgers are horizontal. Accuracy in leveling at this stage eliminates the need for leveling and plumbing as the scaffolding is erected.

Step 4
Place two aluminum planks or four 255 mm (10″) wide boards in each bay spanning the ledgers to square up the system. Move progressively around the base of the scaffolding. When squared and leveled drive home the wedges.

Step 5
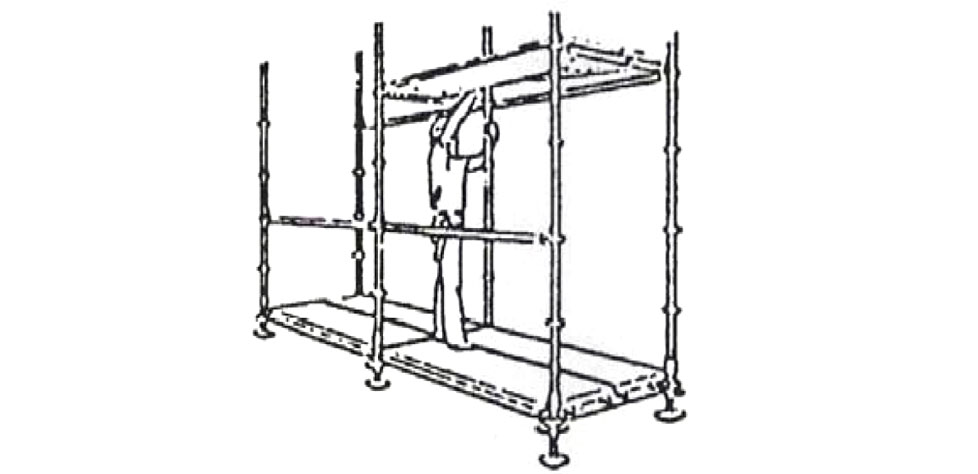
When basing out is completed, the first standards are positioned into the collar of the base.

Step 6
Ledgers can now be placed at the required levels.

Step 7
Handrails are automatically positioned.

Step 8
Planks are now moved up to the first lift, decking out fully if this is to be a working platform.

Step 9
Fix diagonal braces across the face of the bays. Hammer wedges home.

Step 10
The scaffolding is completed by adding Ledger mid-rails, handrails and toe boards on the working platform.

